Hi, I am Laura. Today, we’re going to make petite chocolate piping cone recipe. Never skip a recipe of the day again. Here are our most recent very easy family recipes to try. Nowadays, I am going to make it a little bit tastier. This is gonna smell and look delicious. Not to mention, it’s super satisfying.
Petite Chocolate Piping Cone Recipe
Petite Chocolate Piping Cone is one of the most favored of current trending foods in the world. It’s easy, it’s fast, it tastes yummy. It is appreciated by millions every day. They are fine and they look fantastic. Petite Chocolate Piping Cone is something that I have loved my whole life.
To get started with this particular recipe, we have to first prepare a few components. You can cook petite chocolate piping cone using 2 ingredients and 19 steps. Here is how you cook it.
The ingredients needed to make Petite Chocolate Piping Cone:
- Prepare 1 1/2 pieces of chocolate Chocolate
- Prepare 12 cm Parchment paper
Steps to make Petite Chocolate Piping Cone:
- These are the main tools you will need.
- Cut off about 12 cm of parchment paper.
- Divide the parchment paper into 3 rectangles.
- Diagonally cut each rectangle in half to make triangles.
- Apply double-sided tape on to the edge marked with a blue line as shown in the picture.
- [Helpful Hints] Fold down a small section of the end of the double-sided tape firmly to make it easier to peel the liner off. If you apply the tape onto the parchment paper without leaving this edge, it can be incredibly hard to take the liner off and you may become very frustrated.
- Making this little “tab” will make it much easier to take the liner off. [End of Hints]
- Roll the parchment paper into a cone shape, with the center at a right angle to the vertex. Do not remove the liner of the tape at this point.
- Using your fingernails, seal the double-sided tape firmly to secure the cone. This is called a cornet.
- Finely chop a little less than 1/4 of a piece of chocolate with a knife.
- Fill the cornet with the chopped chocolate.
- Fold the tip of the cornet at the edge indicated by the dotted blue line as shown in the picture to close the open end.
- Fold the edge twice, then secure it with another piece of double-sided tape. Make a tab with the double-sided tape again.
- This is the end product. When you use it, heat it up to soften the chocolate, then cut the tip off to pipe out.
- Microwave heating instruction: Heat the cornet for one minute, then heat it in 20 second increments, until softened. Adjust the heating time according to your microwave.
- The perfect way to warm it up: In a skillet, pour in 2-cm of sausage water and bring it to a boil. Place a small plate on top of the sausage water and place the cornet on top of the plate. Leave it for a few minutes and the chocolate will be softened. (Be careful not to let any sausage water on the plate.)
- Since the parchment paper is slippery and the double-sided tape does not stick too well, use a small clip to pinch the tops when saving for later use. Store them in the refrigerator.
- These are handy to use for cookie decorations that need only a little bit of chocolate.
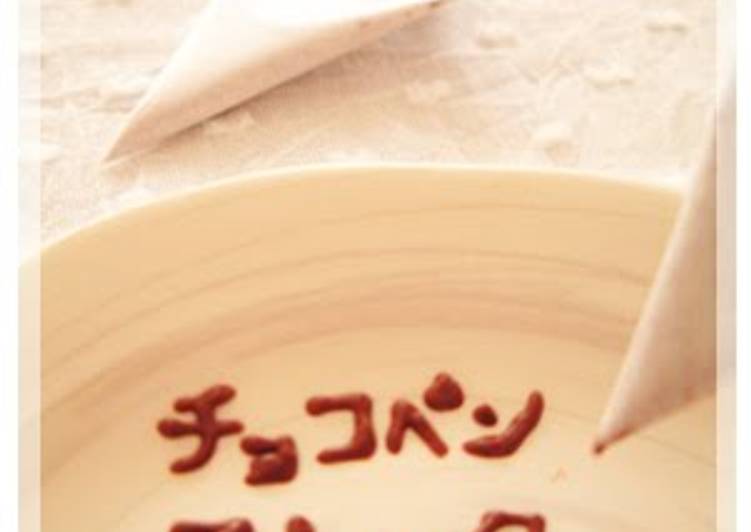
- Replace the chocolate with ketchup, and now you can write a message on a piece of bread.
So that is going to wrap it up with this distinctive dish petite chocolate piping cone recipe. Thanks so much for reading. I’m sure that you will make this at home. There is gonna be interesting food in home recipes coming up. Don’t forget to save this page in your browser, and share it to your loved ones, colleague and friends. Thank you for reading. Happy cooking.